
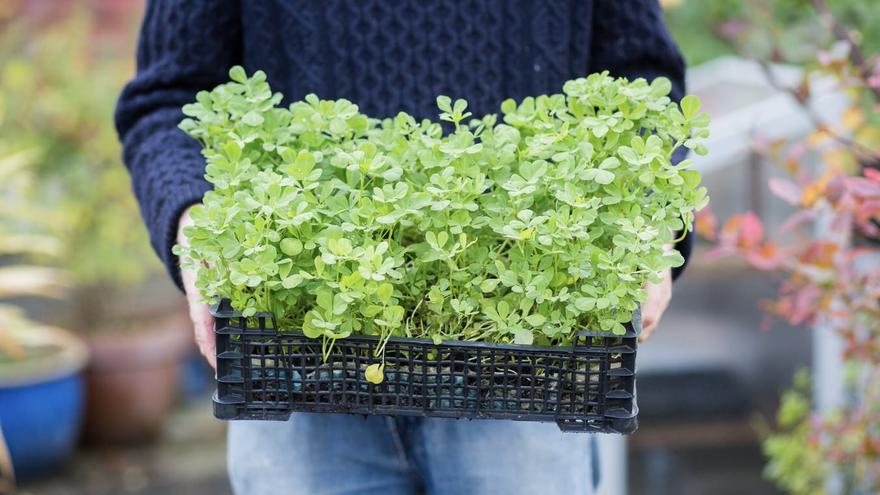
Learn how to grow fresh methi (fenugreek) on your balcony in 20 days. Step-by-step guide for healthy, nutrient-rich leaves for your meals.
Growing Tips for Methi : Most urban homes lack the area necessary for a backyard garden. They are using window-side pots or balconies to cultivate their own greens and veggies. People are enjoying their fresh produce as a result of the growing “urban gardening” movement. Growing methi or fenugreek on the balcony is the most gratifying of the easiest plants, especially during the winter months. Methi paratha or methi malai kofta can be made with this leafy green herb, which grows quickly—ideally in 20 to 25 days. Growing methi on a balcony enhances the aesthetics of your everyday meals while also adding nutrients.
Both novices and gardening enthusiasts will find fresh, fragrant methi leaves to be a perfect starter plant. It needs very little care and sunlight, making it a very low-maintenance plant. To produce a healthy batch at home, all you need is high-quality soil, fenugreek seeds, and some methi growing advice. This is a detailed guide on how to produce meth on a balcony in 20 days.
How to Grow Meth on a Balcony at Home
Step 1: Selecting the appropriate pot for meth growing is crucial. Wide planters are better than deep ones because fenugreek roots spread sideways. 6 to 8 inches is a good depth. To avoid root rot, make sure the pot has adequate drainage. Sturdy, clean trays or cartons can also be used again.
Step 2: Loose soil that drains properly is necessary for methi. To enhance texture, mix garden soil with sand or cocopeat and a small amount of compost. Keep the soil just a little bit wet. Organic compost can be added, which promotes fuller, healthier leaves. Steer clear of heavy clay soil since it can hinder the formation of roots.
Step 3: Soak fenugreek seeds for 6 to 8 hours if you want them to germinate quickly. Gently press the softened seeds into the soil after spreading them evenly. Apply a thin layer of dirt on top. After seeding, put the pot in a sunny location.
Also read : Amla Recipes for Glowing Skin, Strong Immunity & Better Digestion
Step 4: After planting, lightly water. Consistent moisture is essential during the first week. Avoid overwatering, too, since this might cause the seeds to rot. To avoid disturbing the soil, use a spray bottle or a watering container with tiny holes.
Step 5: Since methi prefers sunlight, make sure the pot receives four to six hours of direct sunlight each day. For even development, turn the pot every few days if your balcony doesn’t get much light.
Step 6: Remove crowded seedlings to thin out the sprouts after they are around two inches tall. This keeps fungus at bay by providing adequate room and ventilation for the remaining plants. You can use the removed sprouts as salad microgreens.
Step 7: The leaves are ready for harvesting when they appear lush and full. This often occurs in 20–25 days. To allow the roots to develop again, trim the leaves just above the ground. Waiting too long could cause the leaves to become bitter. The most nutrient-dense methi is gathered fresh.
As a result, growing fresh methi on your balcony is simple, useful, and visually pleasing. It also promotes health and greenery. These vibrant greens can be used to enhance the taste and nutritional value of your meals.